Introduction
In this article, we will explore the Microsoft Azure Mobile app for Android users, its features, capabilities, and how we, as a user, can make use of this app.
Prerequisites
- Microsoft Azure Subscription – Sign up for Azure Free account
- Android enabled mobile handset.
Overview
Microsoft has introduced Azure Mobile App for Android and iPhone Azure subscribers to get connected with their own Azure resources 24 by 7. Mobile being human’s core partner, the app made the life easier for developers, entrepreneurs, or Admin to manage provisioned Azure resources anytime from anywhere. One can not only access and manage but also can monitor the health and status of Azure resources. This helps in quickly resolving the issues encountered.
With the latest updates, the user can even run the commands to manage resources, making it more and more convenient for users to keep the critical resources up and fine running over Cloud.
It comes up for both, Android at Google Play and Apple at the App Store. Today, in this article, we will look into the Microsoft Azure app for Android users.
To know more about Azure mobile app, click here.
Installing Microsoft Azure App
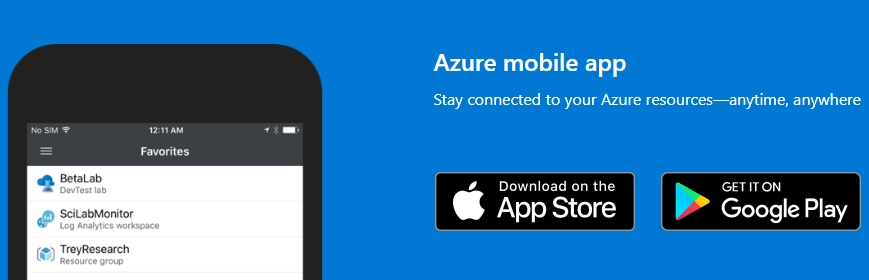
You can visit Microsoft Azure mobile app official page and then select the Google Play link to download the Azure Mobile app for your Android device.

Or you can also click here to install the Microsoft Azure app from Google Play store.

You can visit Google Play Store using your Android enabled mobile handset and search for Microsoft Azure, and click Install.
Note: Make sure that the app you select from the search list is from Microsoft Corporation only. Refer the above image for more details.
Once downloaded and installed, click on “Open”.

What’s in Microsoft Azure Mobile app
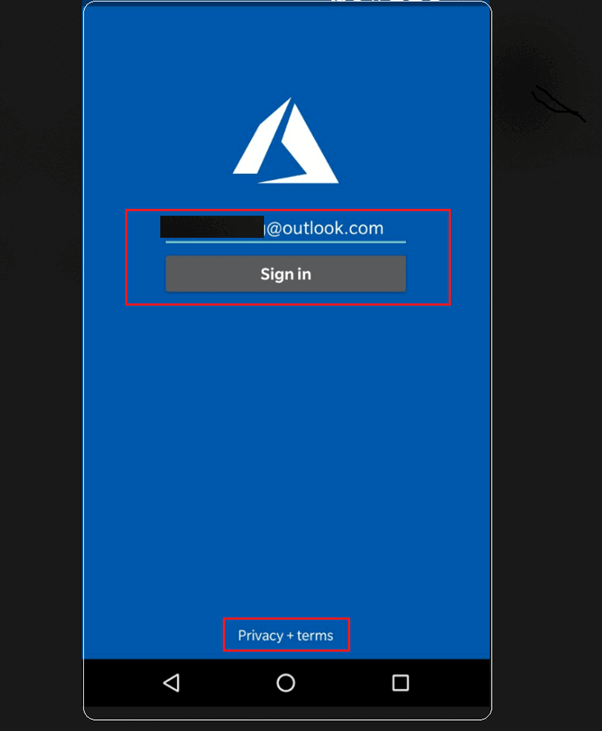
Signing in is the traditional way to enter, and it goes the same here with giant cloud zone. You need to log in with your credentials holding Microsoft Azure subscription. As of now, you cannot sign-up for new subscriptions in the Azure Mobile App, but can’t predict what could happen in future.
There is also a link below for reading Privacy + Terms. Would recommend you go through it once.
Enter the email id and click “Sign in”.
This account of mine is a new free trial account created just before writing up this article. So, as of now, there are no resources to list up.
After successful login, the user will be first landed on to “All resources” section, wherein, all the resources associated with user’s subscription are listed, along with the subscription details.
Down below, we have four links associated with icons.
- Favorites – So let me clear you here, it’s Favorites and not Favourites. The “Favorites” section goes for quick access to the data or saving an address of resource to manage in future at one go! Will look into how the resource can be clubbed in the “Favorites” section, later in this article.
- Resource – This section comes by default after signing in to the Azure app. Here, all the associated resources to the subscription will get listed.
- Notification – Here, all the notifications with respect to the user (subscription), products, and resource activities will be listed.
- Cloud Shell – The most important section wherein a user can run ad hoc Azure CLI commands from the app to manage resources. Very soon, PowerShell will be added for sure (also mentioned on the official website).

Before getting into resource details, let’s check what its main menu comes with.
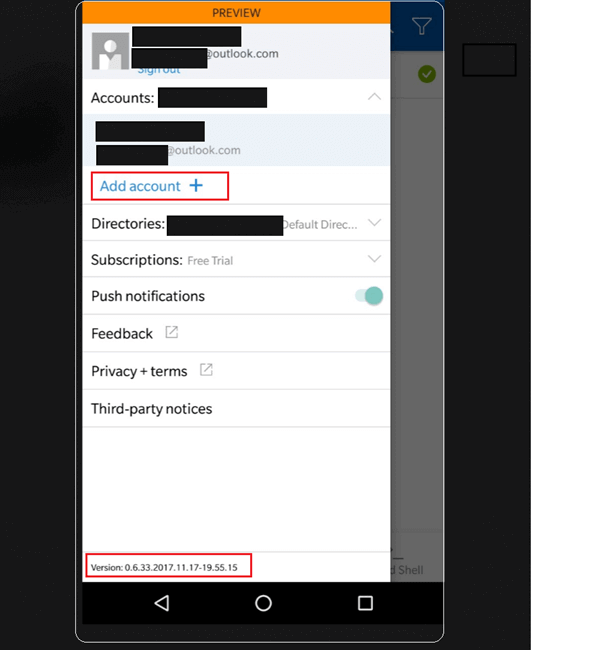
Click on the Menu icon at the top-left corner as highlighted in the above image. It shows account details, along with a provision to add another account, of course, with an Azure subscription. So, we can manage multiple subscriptions in Azure Mobile App.
Also, it has the following options.
- Push notifications – By default, it’s On; Helps in getting notified about resource activities.
- Feedback – Using this link, you can provide your suggestion or feedback with respect to Azure Mobile App.
- Privacy + Terms – Click here to go through its details.
Also, it shows the version of the mobile app is installed and functional.
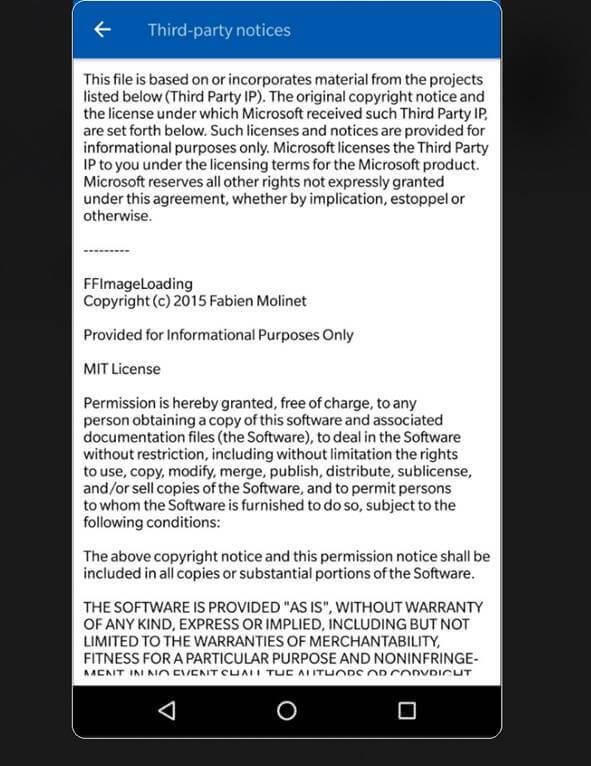
Third-party notices are also part of the main menu.
Managing Resource Group & Resources
Click on the Resources listed here with a free subscription. We can see six tabs associated with every resource.
- Status – This shows the resource’s current status as Active or Inactive.
- Activity log – This shows the activity of resource if encountered with error
- Essentials – This states subscription name & location of the resource.
- Resource groups – Resource groups being created under this subscription.
- Properties – Properties listed here change resource to resource. Like if its subscription, it shows properties associated with Subscription like subscription id, etc. If the resource is Web App, it shows default hostname etc. So, to conclude, it shows the entities mostly listed under the “Overview” section in Microsoft Azure Web portal.
- JSON – Resource details in JSON format.
Note
Above-listed six tabs are associated with Subscription. This may differ as per resource selected. For instance, if a resource selected is Logic App or Web app, along with above mentioned six tabs, there exists a tab named ‘Metrics’, which displays the health of the resource.
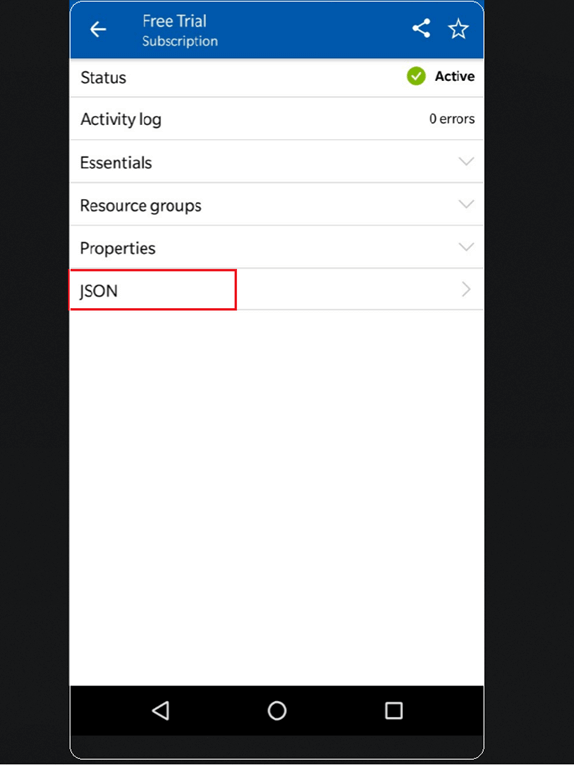
Click on the JSON tab to view resource details in JSON script.
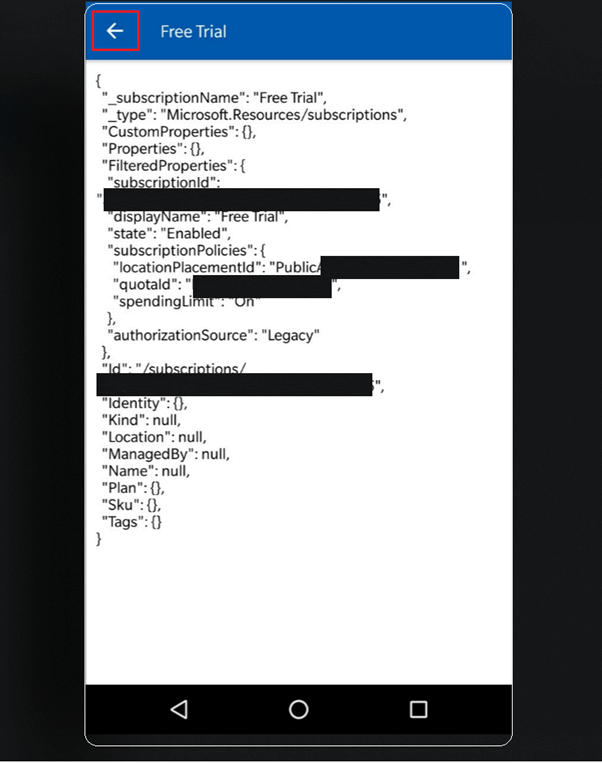
Now, go back by clicking the top-left upper arrow icon to go back to the Resource section.
Click on the “Notification” Icon. As mentioned earlier, this account is new, as of now, no new notification is received.

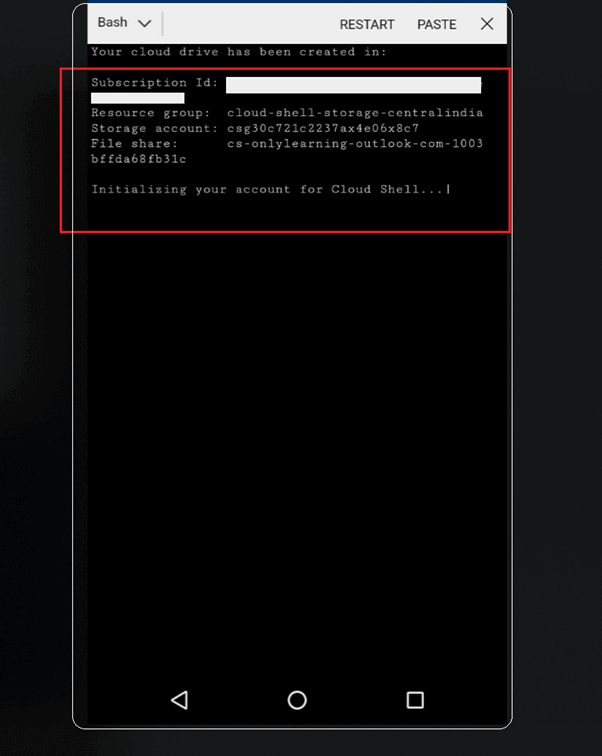
Now, click on “Cloud Shell” icon to start with running Azure LI commands. Azure CLI needs underline Azure Storage account, Azure file share to persist files.
As you click on Cloud Shell, it will ask you to create a storage account.
Click on “Create storage”.

This will create an Azure Storage account as seen in the below image. And next, it starts initializing the user account for using Cloud Shell.
As mentioned earlier, PowerShell is joining Azure Mobile App soon!

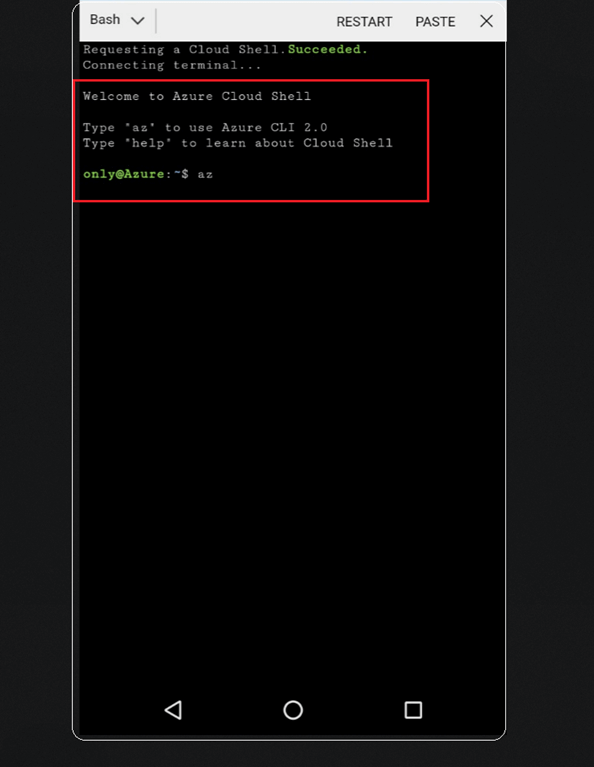
Once Cloud Shell is initialized for the user, we will have a welcome message along with short command info to start with.
That is it for Part I. In the next part, we will see remaining functionalities.
Stay tuned.
