
Note – You can find the source code of my sample application here.
In my previous post about Bots, I have explained how to use FormFlow to create attractive selection box in bots which you can find here.
In this post, I will explain how to create Image detection bot using Microsoft Vision API.
Let us see how to create Image detection Bot application using Visual Studio 2017.
prerequisite:
- Visual studio 2017 community edition, download here
- Bot conversation emulator, click here to download
Also if you want to have Bot Application as a template then as a workaround just download this (download would start once you click on the link) project and put the extracted folder into below location:
C:\Users\YourName\Documents\Visual Studio 2015\Templates\ProjectTemplates\Visual C#
Once this is done, you can see Bot Application template as shown below:
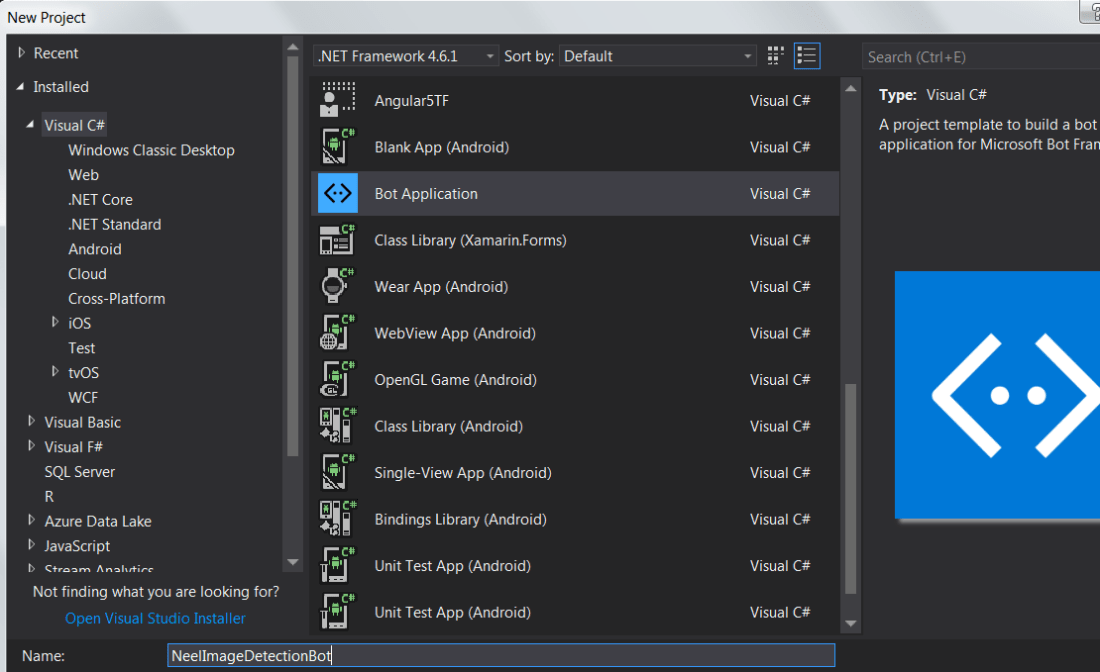
Click on Bot Application and then it will create a sample project which has the structure as below:
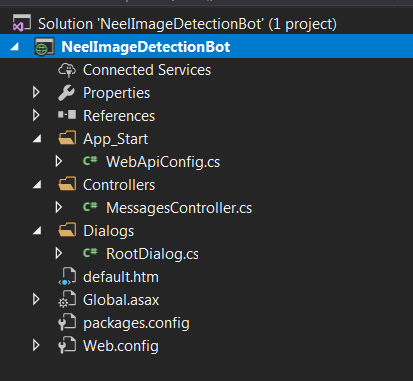
Here MessagesController is created by default and it is the main entry point of the application.
I have written the post to setup basic Bot application which you can find here. So if you get errors then I would suggest you to first take a look at above link.
Now replace the code of MessagesController with below code:
 using System;
 using System.IO;
 using System.Linq;
 using System.Net;
 using System.Net.Http;
 using System.Text.RegularExpressions;
 using System.Threading.Tasks;
 using System.Web.Http;
 using NeelImageDetectionBot.Service;
 using Microsoft.Bot.Builder.Dialogs;
 using Microsoft.Bot.Connector;

namespace NeelImageDetectionBot
 {
 [BotAuthentication]
 public class MessagesController : ApiController
 {
 private readonly IImageService captionService = new ImageService();

 ///
 /// POST: api/Messages
 /// Receive a message from a user and reply to it
 ///
 public async Task Post([FromBody]Activity activity)
 {
   if (activity.Type == ActivityTypes.Message)
   {
    //await Conversation.SendAsync(activity, () => new Dialogs.RootDialog());
    var connector = new ConnectorClient(new Uri(activity.ServiceUrl));
    string message;
    try
    {
      message = await this.GetCaptionAsync(activity, connector);
    }
    catch (Exception ex)
    {
      message = "Welcome to Image detection Bot , Please Upload or share Image Url ";
    }

 Activity reply = activity.CreateReply(message);
 await connector.Conversations.ReplyToActivityAsync(reply);
  }
  else
  {
     HandleSystemMessage(activity);
  }
  var response = Request.CreateResponse(HttpStatusCode.OK);
  return response;
 }

private Activity HandleSystemMessage(Activity message)
 {
  if (message.Type == ActivityTypes.DeleteUserData)
  {
    // Implement user deletion here
    // If we handle user deletion, return a real message
  }
  else if (message.Type == ActivityTypes.ConversationUpdate)
  {
   // Handle conversation state changes, like members being added and removed
   // Use Activity.MembersAdded and Activity.MembersRemoved and Activity.Action for info
   // Not available in all channels
  }
  else if (message.Type == ActivityTypes.ContactRelationUpdate)
  {
   // Handle add/remove from contact lists
   // Activity.From + Activity.Action represent what happened
  }
  else if (message.Type == ActivityTypes.Typing)
  {
   // Handle knowing tha the user is typing
  }
  else if (message.Type == ActivityTypes.Ping)
  {
  }

  return null;
 }

private async Task GetCaptionAsync(Activity activity, ConnectorClient connector)
 {
   var imageAttachment = activity.Attachments?.FirstOrDefault(a => a.ContentType.Contains("image"));
   if (imageAttachment != null)
   {
    using (var stream = await GetImageStream(connector, imageAttachment))
   {
     return await this.captionService.GetCaptionAsync(stream);
   }
 }

  string url;
 if (TryParseAnchorTag(activity.Text, out url))
 {
   return await this.captionService.GetCaptionAsync(url);
 }

 if (Uri.IsWellFormedUriString(activity.Text, UriKind.Absolute))
 {
   return await this.captionService.GetCaptionAsync(activity.Text);
 }

 // If we reach here then the activity is neither an image attachment nor an image URL.
 throw new ArgumentException("The activity doesn't contain a valid image attachment or an image URL.");
 }

 private static async Task GetImageStream(ConnectorClient connector, Attachment imageAttachment)
 {
   using (var httpClient = new HttpClient())
   {
     var uri = new Uri(imageAttachment.ContentUrl);
     return await httpClient.GetStreamAsync(uri);
   }
 }

 /// <summary>
 /// Gets the href value in an anchor element.
 /// </summary>
 private static bool TryParseAnchorTag(string text, out string url)
 {
   var regex = new Regex("^[^\"]*)\">[^<]*$", RegexOptions.IgnoreCase);
   url = regex.Matches(text).OfType().Select(m => m.Groups["href"].Value).FirstOrDefault();
   return url != null;
   }
  }
 }
Here we have written all necessary code:
- To get the Image if URL is provided
- How code should behave when the user posts something
- Getting Image caption by calling Vision API methods in ImageService class
As you can see we have given the reference of IImageService and ImageService in above code.
Let us first add IImageService interface and add below code to the interface:
using System.IO;
using System.Threading.Tasks;

namespace NeelImageDetectionBot.Service
{
 internal interface IImageService
 {
  /// Gets the caption of an image stream.
  Task GetCaptionAsync(Stream stream);

  /// Gets the caption of an image URL.
  Task GetCaptionAsync(string url);
 }
}
Here we have written the method signatures(for getting caption of image) which we will add in ImageService class which will be inherited from IImageService interface.
Let us add ImageService class and add below code:
using System.IO;
using System.Linq;
using System.Threading.Tasks;
using Microsoft.ProjectOxford.Vision;
using Microsoft.ProjectOxford.Vision.Contract;

namespace NeelImageDetectionBot.Service
{
  public class ImageService : IImageService
  {
   /// Microsoft Computer Vision API key.
   private static readonly string ApiKey = "VisionApiKey"; //// Need to add Vision API Key here

   /// The set of visual features we want from the Vision API.
   private static readonly VisualFeature[] VisualFeatures = { VisualFeature.Description };

   public async Task<string> GetCaptionAsync(string url)
   {
     var client = new VisionServiceClient(ApiKey);
     var result = await client.AnalyzeImageAsync(url, VisualFeatures);
     return ProcessAnalysisResult(result);
   }

   public async Task<string> GetCaptionAsync(Stream stream)
   {
     var client = new VisionServiceClient(ApiKey);
     var result = await client.AnalyzeImageAsync(stream, VisualFeatures);
     return ProcessAnalysisResult(result);
   }

  /// Processes the analysis result.
  private static string ProcessAnalysisResult(AnalysisResult result)
  {
     string message = result?.Description?.Captions.FirstOrDefault()?.Text;
     return string.IsNullOrEmpty(message) ?
       "Couldn't find a caption for this one" :
       "As per my analysis it's " + message;
 }
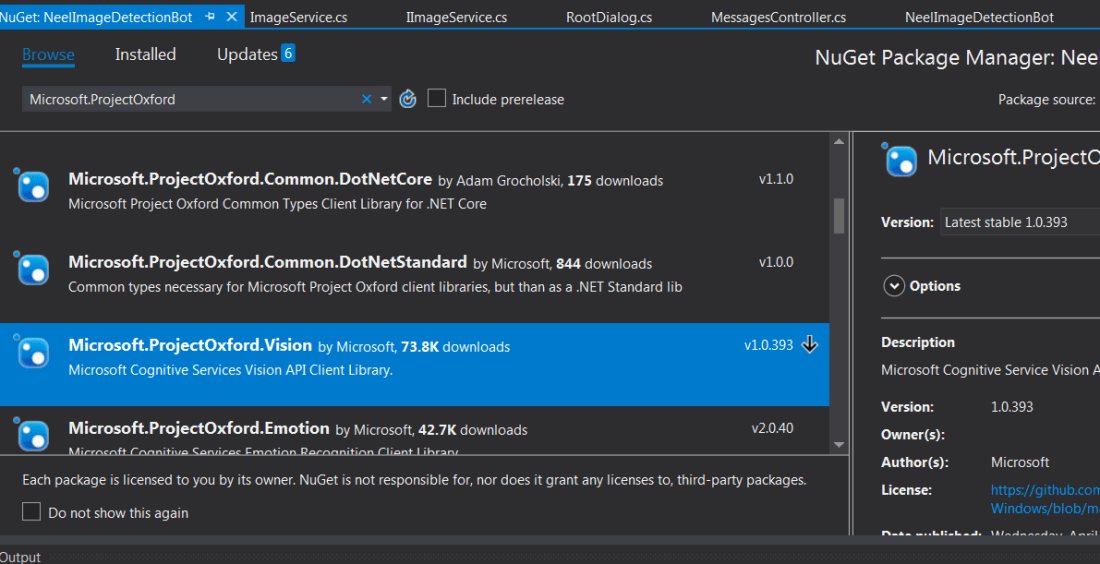
After adding this, you will get errors because the application cannot find reference Microsoft.ProjectOxford.Vision.
Let us add the reference from Nuget as shown below:
ImageRecognition class has an important method named AnalizeImage which basically reads the image from the location and transfers it into the stream. Then it calls below API method and passes the image stream:
client.AnalyzeImageAsync(stream, visualFeatures);
Above method will return AnalysisResult which can be extracted as below:
string message = result?.Description?.Captions.FirstOrDefault()?.Text;
So basically Image caption is the text it will return after analyzing the image.
Vision API Key
Concentrate on below line in above code:
private static readonly string ApiKey = "VisionApiKey";
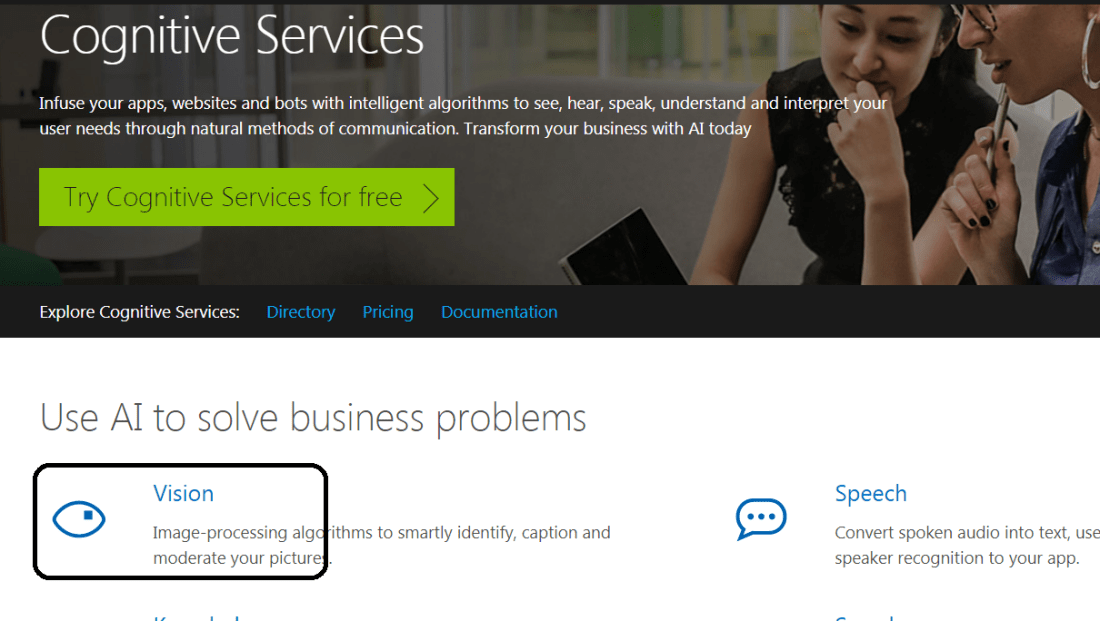
Note that you will be required to add an API key which you can get from the Cognitive Service page of Azure here.
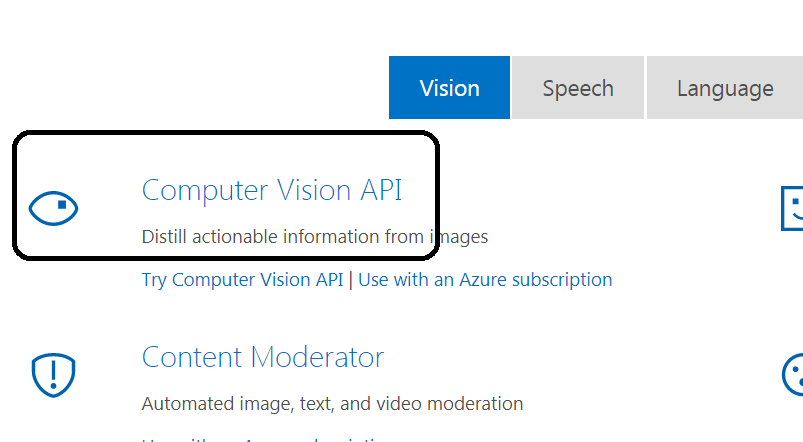
Click on Vision as shown below:
Click on Computer Vision API as shown below:
Click on Get API Key:
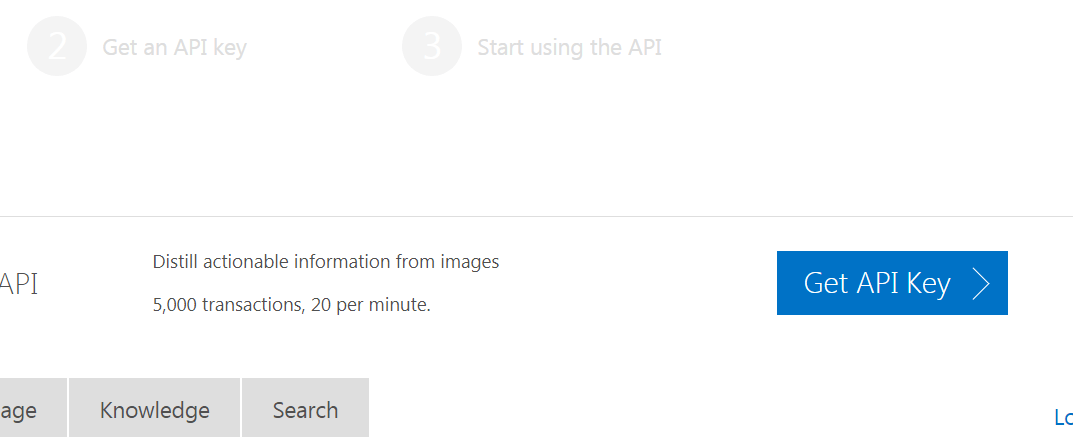
Note that API Key and put it in the code as shown in above code. For security reason, I have kept the key empty.
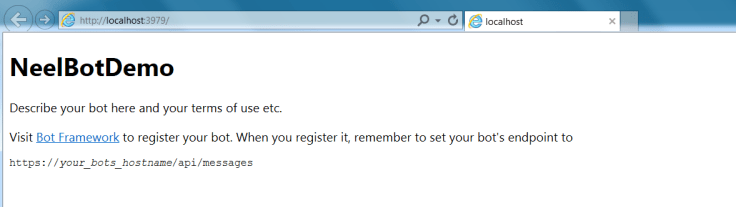
Our Bot is ready now, just click on start button and you will see below window:
As I explained in my previous post, we will require a Bot Emulator to test our bot.
So we will start testing our bot by providing our bot URL which is http://localhost:3979/api/messages
Let us test our Bot:
If we want to test our bots locally then Bot emulator is the best option.
The Bot Framework Emulator is a desktop application that allows bot developers to test and debug their bots on localhost or running remotely through a tunnel.
As we mentioned on top of the post, you can download the Bot emulator from here. Or you can click below, it will start the download automatically:
botframework-emulator-Setup-3.5.33.exe
Click on exe, it will start the installation:

And once the installation is done, it will have a landing page as below, here you need to give the URL of your bot application(http://localhost:3979/api/messages):
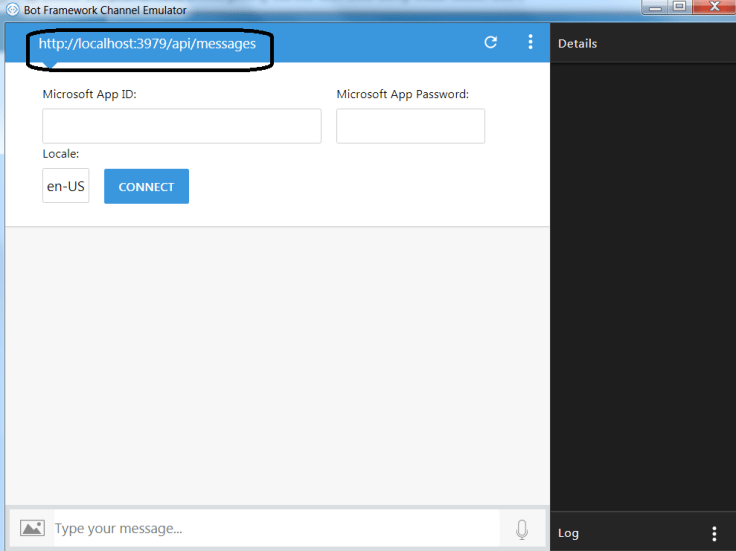
It will ask you for Microsoft App Id and password, but for now, do not give anything there and click on CONNECT.
Now your bot is ready to be tested.
Upload any random images and the bot will respond:

Some more images:
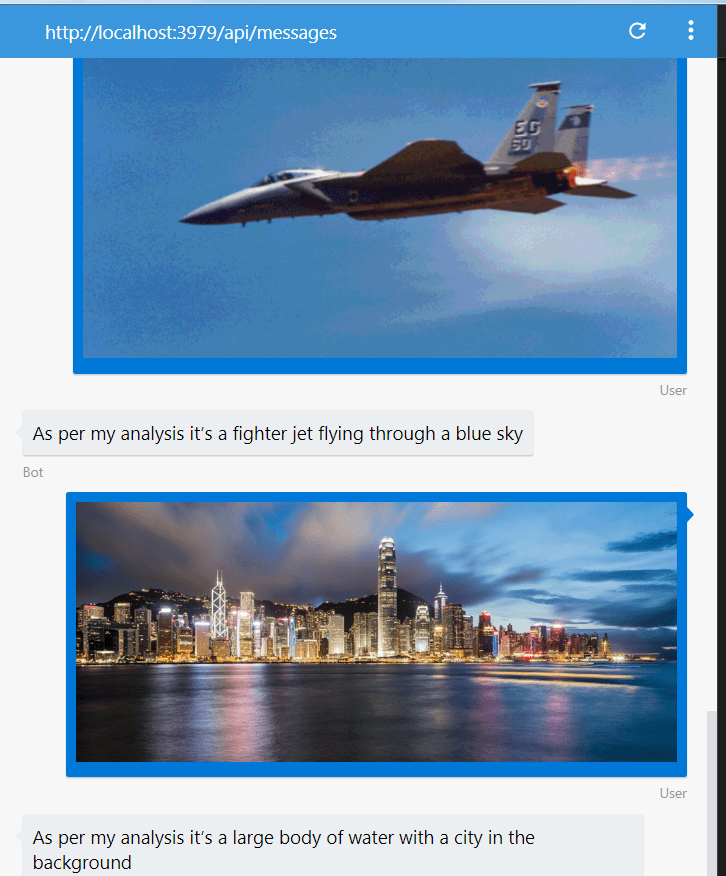
As you can see the image is detected and Vision API returned the result as per the analysis.
Note – You can find the source code of my sample application here.
Hope it helps.

Reblogged this on Razin's Tech blog.
LikeLike