In my last post, I explained how to create your first bot using Visual Studio 2017 which you can find here.
In this post, we will see how to add selection box(forms) to your bot using Microsoft FormFlow.
As explained in my previous post, you can follow the steps to add Bot application into your Visual Studio.
NOTE – the Whole code is available here.
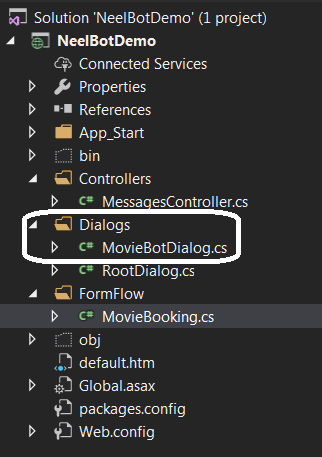
I will use the same solution I created last time and will add one more class which I will name as MovieBooking.

In this class, we will add different enum, which will work as a select box. It is a real beauty of Bot framework.
For example, let us create the enum for MovieTheatreLocation:
[Serializable]
public enum MovieTheatreLocation
{
  Pune = 1, Bangalore = 2, Mumbai = 3
}
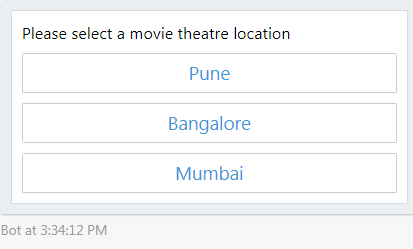
and when we run this on Bot Emulator, it will look like below:
Let us add all required code to MovieBooking.cs class:
As you can see we have added different enum.
Important Notes:
- Make sure you select the appropriate name of Enum because it will be automatically reflected in the bot. For example, if you write the name of Enum as MovieTheatreLocation then the bot will use this as:
Please select a movie theatre location
- Also, note that the sequence of different selection box will depend on how you declare different Enum in code.
For example in above class you have declared Enum in below sequence:
public MovieTheatreLocation movieTheatreLocation;
 public MovieTheatre movieTheatre;
public MovieTypes movieTypes;
public ClassTypes classTypes;
[Optional]
public DoYouNeedAMeal doYouNeedAMeal;
public FoodMenu foodMenu;
public DateTime? DateOfJurney;
[Numeric(1, 5)]
public int? NumberOfAdult;
public int? NumberOfChild;
So Movie theatre selection box will come first and Number of child box will come last.
Now, we need to create a separate dialog for MovieBooking, so add one class called MovieBotDialog:
In this class, we will write what bot should behave when the user replies something or when the whole conversation is over.
Add code to MovieBotDialog.cs class:
using NeelBotDemo.FormFlow;
using Microsoft.Bot.Builder.Dialogs;
using Microsoft.Bot.Builder.FormFlow;
using System.Linq;
using System.Text.RegularExpressions;
using System.Threading.Tasks;

namespace NeelBotDemo.Dialogs
{
 public class MovieBotDialog
 {
   public static readonly IDialog<string> dialog = Chain.PostToChain()
   .Select(msg => msg.Text)
   .Switch(
     new RegexCase<IDialog<string>>(new Regex("^hi", RegexOptions.IgnoreCase), (context, text) =>
    {
      return Chain.ContinueWith(new RootDialog(), AfterMyDialogContinue);
    }),
    new DefaultCase<string, IDialog<string>>((context, text) =>
    {
      return Chain.ContinueWith(FormDialog.FromForm(MovieBooking.BuildForm, FormOptions.PromptInStart), AfterMyDialogContinue);
    }))
    .Unwrap()
    .PostToUser();

private async static Task<IDialog<string>> AfterMyDialogContinue(IBotContext context, IAwaitable<object> item)
{
   var token = await item;
   var name = "User";
   context.UserData.TryGetValue<string>("Name", out name);
   return Chain.Return($"Please continue typing if you want to book a movie ticket.");
  }
 }
}
As you can see above, we have mentioned if user types “hi” then we will initiate RootDialog class and in RootDialog class we will write some code to collect the name of the user. RootDialog class will store the name into the context user data, so that the name can be used later in the conversation.
Add code to RootDialog class:
using Microsoft.Bot.Builder.Dialogs;
using Microsoft.Bot.Connector;
using System;
using System.Threading.Tasks;

namespace NeelBotDemo.Dialogs
{
  [Serializable]
  public class RootDialog : IDialog
  {
    public async Task StartAsync(IDialogContext context)
    {
      // My dialog initiates and waits for the next message from the user.
      await context.PostAsync("Hi I am Movie Booking Bot created by Neel.");
      await Respond(context);
      // When a message arrives, call MessageReceivedAsync.
      context.Wait(MessageReceivedAsync);
    }

   private static async Task Respond(IDialogContext context)
   {
     var userName = string.Empty;
     context.UserData.TryGetValue<string>("Name", out userName);
     if (string.IsNullOrEmpty(userName))
     {
       await context.PostAsync("What is your Name?");
       context.UserData.SetValue<bool>("GetName", true);
     }
     else
     {
       await context.PostAsync(string.Format("Hi {0}.", userName));
     }
  }

  public virtual async Task MessageReceivedAsync(IDialogContext context, IAwaitable<IMessageActivity> result)
  {
    var message = await result;// We've got a message!
    var userName = String.Empty;
    var getName = false;
    context.UserData.TryGetValue<string>("Name", out userName);
    context.UserData.TryGetValue<bool>("GetName", out getName);
    if (getName)
    {
      userName = message.Text;
      context.UserData.SetValue<string>("Name", userName);
      context.UserData.SetValue<bool>("GetName", false);
    }
    await Respond(context);
    context.Done(message);
  }
 }
}
Once this is done, let us modify MessagesController class which is the heart of the application and our above classes will be called within this controller class.
Write code to MessagesController.cs class:
using NeelBotDemo.Dialogs;
using NeelBotDemo.FormFlow;
using Microsoft.Bot.Builder.Dialogs;
using Microsoft.Bot.Builder.FormFlow;
using Microsoft.Bot.Connector;
using System.Net;
using System.Net.Http;
using System.Threading.Tasks;
using System.Web.Http;

namespace NeelBotDemo
{
 [BotAuthentication]
 public class MessagesController : ApiController
 {
   /// <summary>
   /// POST: api/Messages
   /// Receive a message from a user and reply to it
   /// </summary>
   public async Task<HttpResponseMessage> Post([FromBody]Activity activity)
   {
     if (activity.Type == ActivityTypes.Message)
     {
       await Conversation.SendAsync(activity, () => MovieBotDialog.dialog);
     }
    else
    {
      HandleSystemMessage(activity);
    }
   var response = Request.CreateResponse(HttpStatusCode.OK);
   return response;
 }
internal static IDialog<MovieBooking> MakeRootDialog()
{
   return Chain.From(() => FormDialog.FromForm(MovieBooking.BuildForm));
}
private Activity HandleSystemMessage(Activity message)
{
  if (message.Type == ActivityTypes.DeleteUserData)
  {
    // Implement user deletion here
    // If we handle user deletion, return a real message
  }
  else if (message.Type == ActivityTypes.ConversationUpdate)
  {
    // Handle conversation state changes, like members being added and removed
    // Use Activity.MembersAdded and Activity.MembersRemoved and Activity.Action for info
    // Not available in all channels
  }
  else if (message.Type == ActivityTypes.ContactRelationUpdate)
  {
    // Handle add/remove from contact lists
    // Activity.From + Activity.Action represent what happened
  }
  else if (message.Type == ActivityTypes.Typing)
  {
    // Handle knowing tha the user is typing
  }
  else if (message.Type == ActivityTypes.Ping)
  {
  }

 return null;
 }
}
}
Whatever response User sends, it will first come to Post method of MessagesController class and then it will invoke MovieBotDialog class.
Our Bot is ready now, just click on start button and you will see below window:
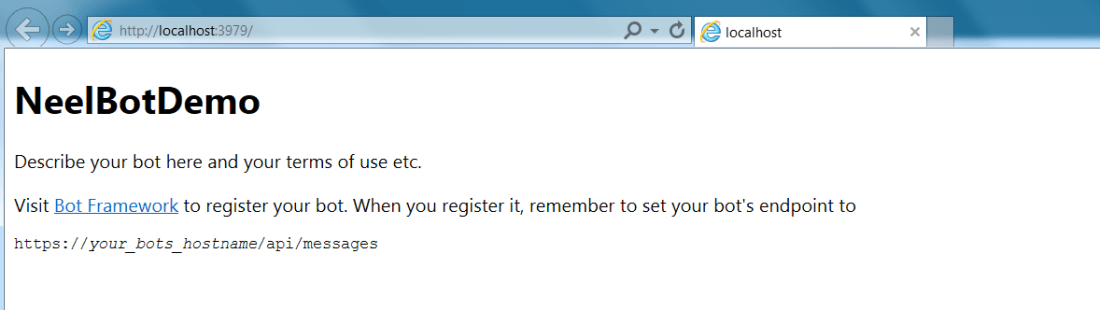
As I explained in my previous post, we will require a Bot Emulator to test our bot.
So we will start testing our bot by providing our bot URL which is http://localhost:3979/api/messages
Let us test our Bot:
We will start by:
- Writing hi
- Bot will greet and will ask your name
- Once we provide Name, Bot will store our name in user context and will tell us to continue
- Once we type anything, it will ask to select the city:
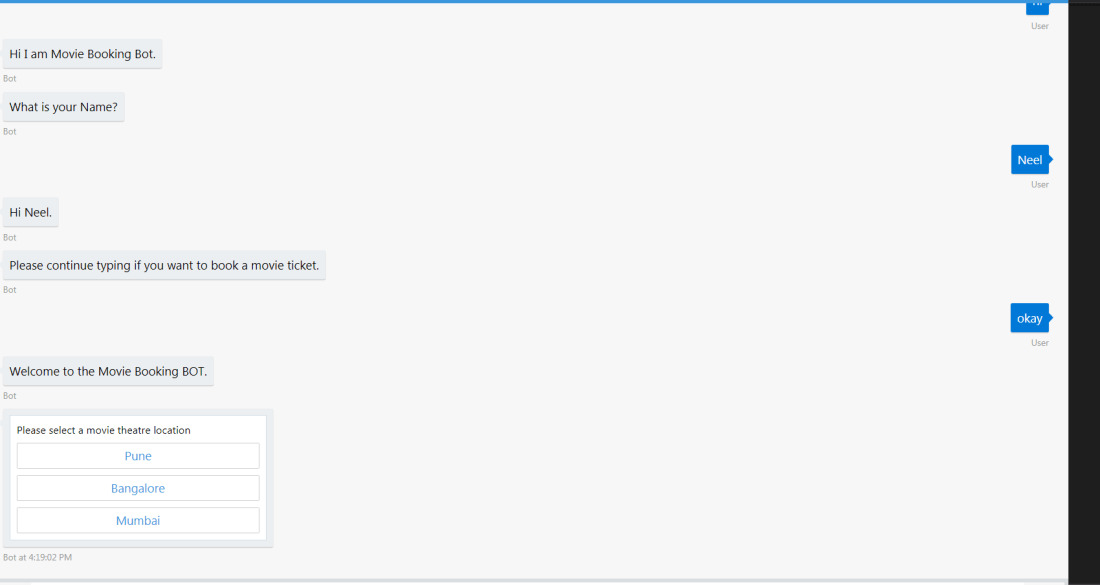
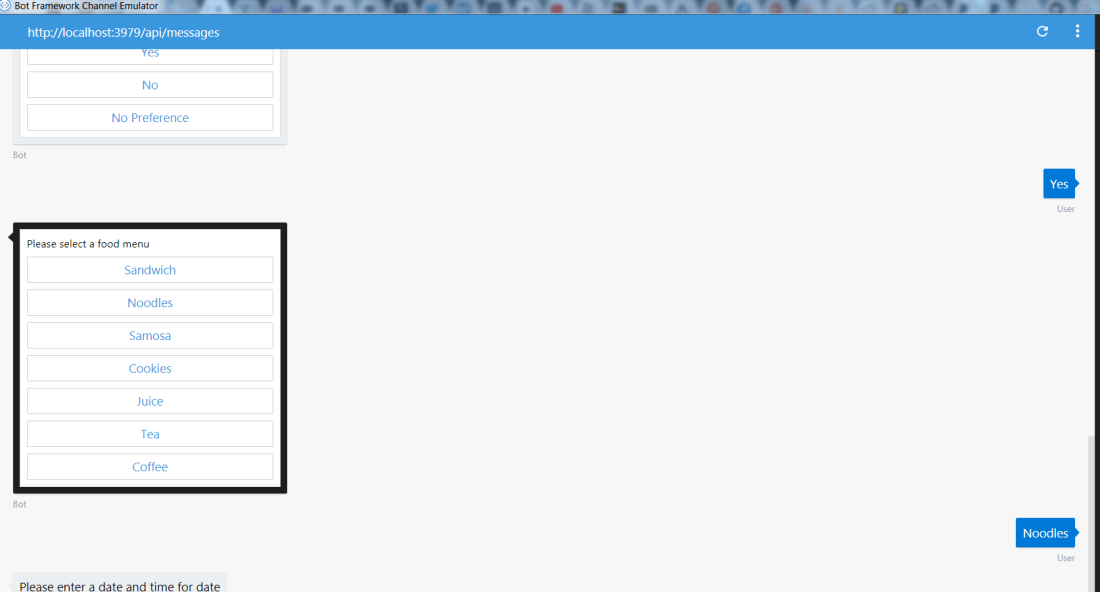
Continue clicking on your selection, a different selection box(forms) will appear which we have given in the class MovieBooking.
Screenshots of Bot for the whole conversation:


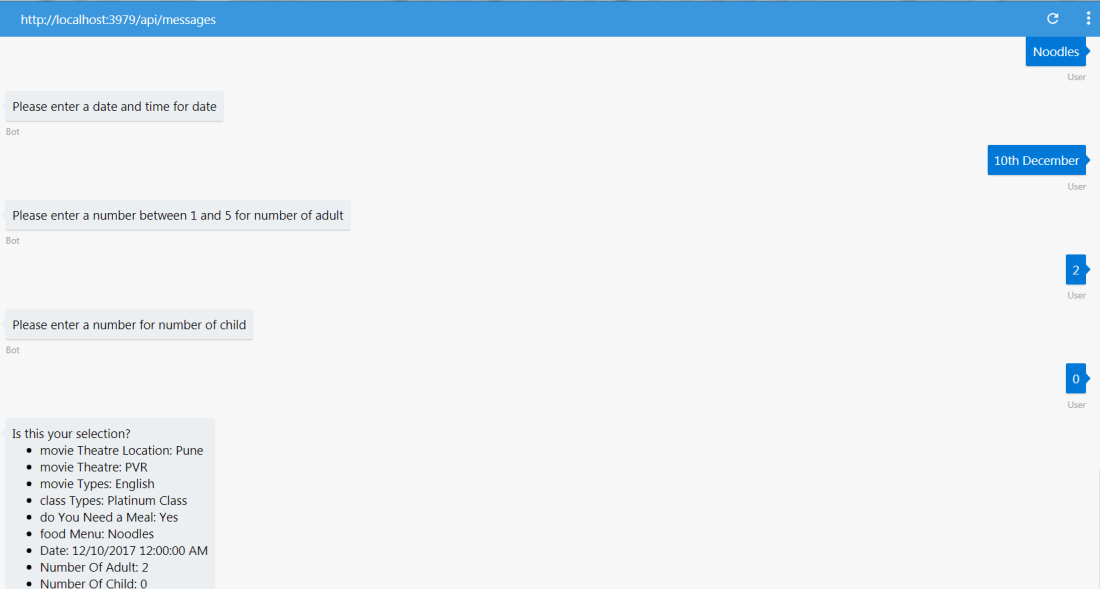
As you can see in above image, whole summery of your inputs have been given, this is awesome.
Say Yes and your booking is successful:
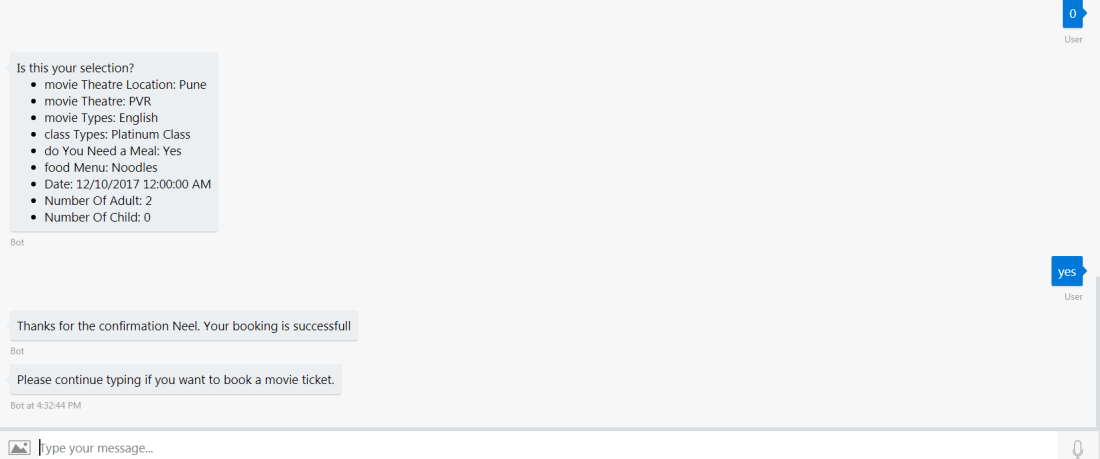
As you can see the name Neel in the last sentence, it was collected from the user data context.
Congratulations, you have just created a Bot with FromFlow.
Please contact me or write the comment if you have doubt for any of the line of code above.
NOTE – the Whole code is available here.
Hope it helps.

One thought on “Create your first bot using FormFlow of Bot framework: Demo Movie Booking Bot”