
Microsoft recently announced Visual studio code tools for AI which is an extension to build, test, and deploy Deep Learning / AI solutions.
We all know that AI is really in demand nowadays. Let us first see what is AI:
Artificial intelligence (AI) is an area of computer science that emphasizes the creation of intelligent machines that work and react like humans. Some of the activities computers with artificial intelligence are designed for include: Speech recognition. Learning.
What could be done with help of Visual studio code tools for AI?
- It integrates with Azure Machine Learning for robust experimentation capabilities
- Can be used for submitting data preparation
- Can be used for model training jobs transparently to different compute targets
- Provides support for custom metrics
- To run history tracking
- To enable data science reproducibility and auditing
It can be clubbed with deep learning frameworks like Microsoft Cognitive Toolkit CNTK, TensorFlow, Theano, Keras, Caffe2 and many other frameworks
Let us go step by step:
Basic requirement:
- Visual studio code with version 1.16.1 or more (https://code.visualstudio.com/download)
- Azure Machine Learning Workbench(To download, have a look below)
- Azure account
Once you have Visual studio Code installed, just open Visual studio code tools for AI from the Extensions as below:

Please note that it can be installed only if you have Visual Studio code version 1.16.1 or more else it will show below error:
Couldn’t find a compatible version of Visual Studio Code Tools for AI with this version of Code.
Once the extension is downloaded you can see below screen:
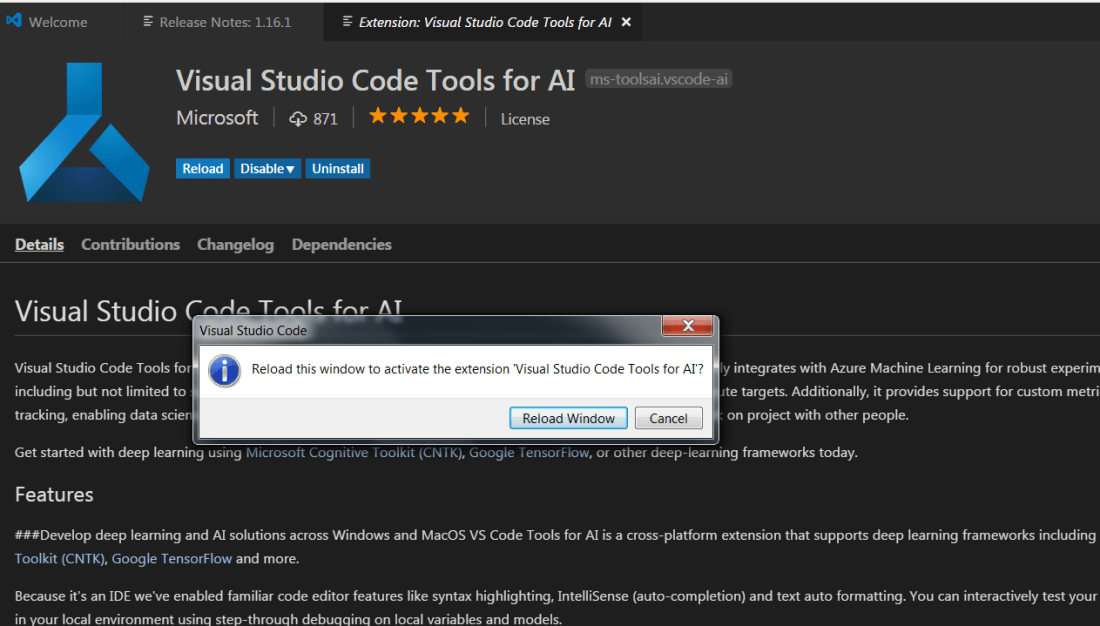
Just click on Reload Window and it will then load the landing page of the extension.
To Explore Sample projects:
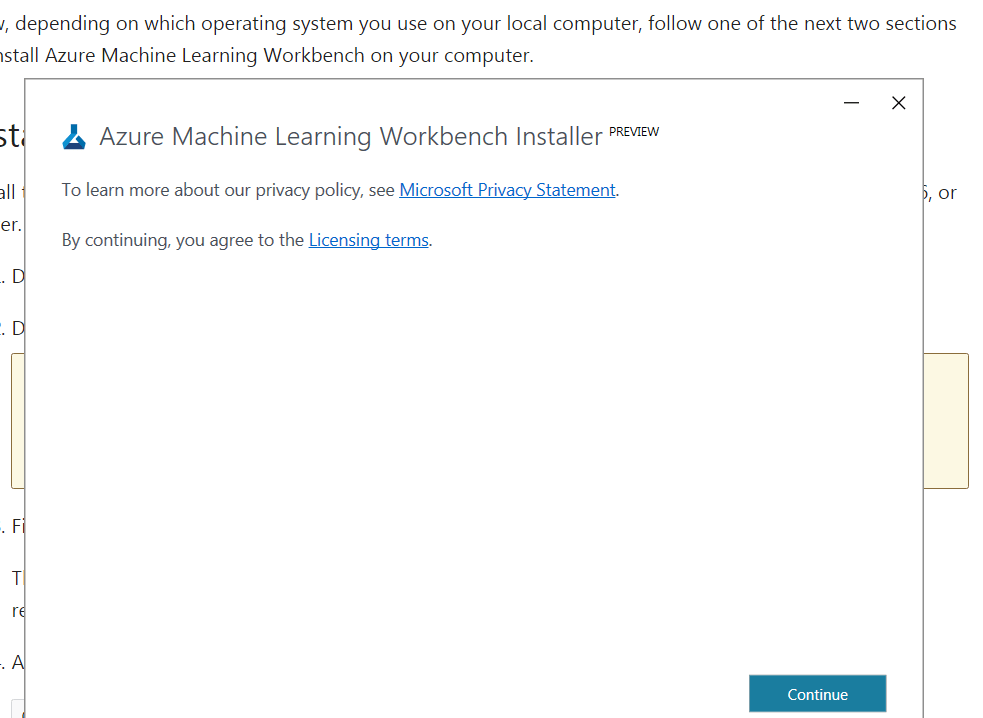
Note: To play with some sample projects, you first need to have the Azure Machine Learning Workbench installed. You could follow this to install the Azure Machine learning Workbench as below:
Install Azure Machine Learning Workbench on Windows:
Install the Azure Machine Learning Workbench on your computer running Windows 10, Windows Server 2016, or newer.
- Download the latest Azure Machine Learning Workbench installer AmlWorkbenchSetup.msi.
- Double-click the downloaded installer AmlWorkbenchSetup.msi from your File Explorer.
- Finish the installation by following the on-screen instructions.
The installer downloads all the necessary dependent components such as Python, Miniconda, and other related libraries. The installation may take around half an hour to finish all the components.
- Azure Machine Learning Workbench is now installed in the following directory:
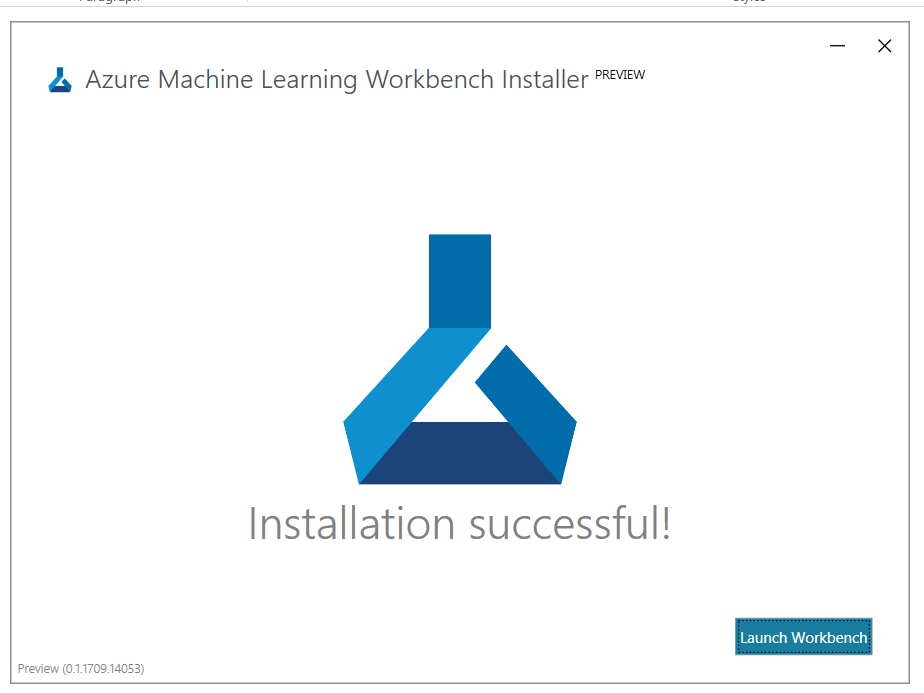
C:\Users\<user>\AppData\Local\AmlWorkbench
Once it is done, you can follow below steps to look at some sample projects:
- Open the command palette from View tab (View > Command Palette or Ctrl+Shift+P).
- Enter “ML Sample” in the search box.
- You get a recommendation for “AI: Open Azure ML Samples Explorer”, select it and press enter:
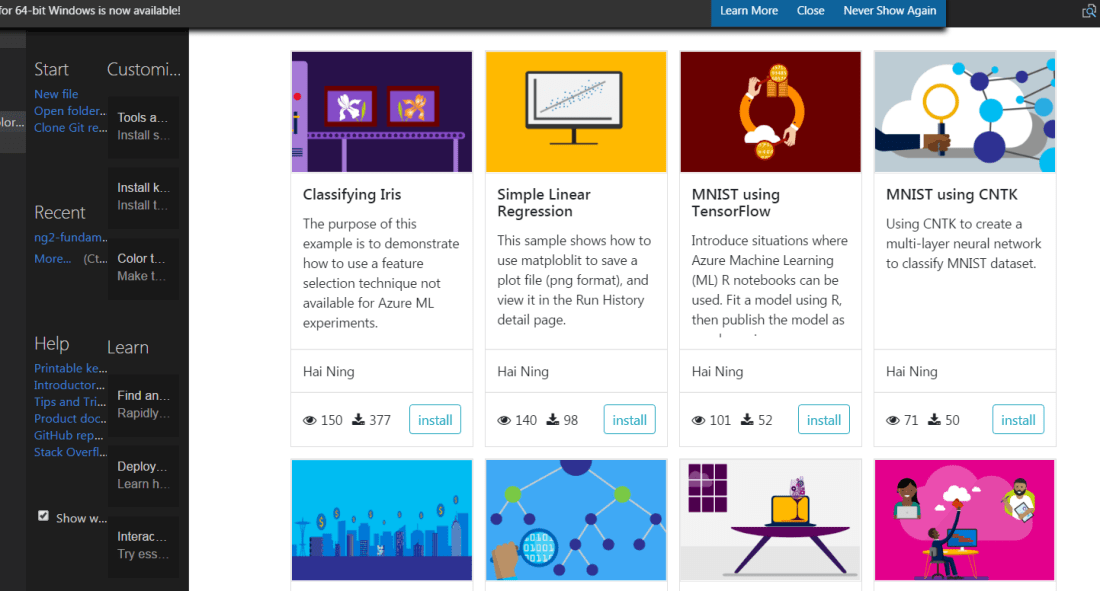
Let us take fist Iris example:
Click on Install and give the name you want to give:
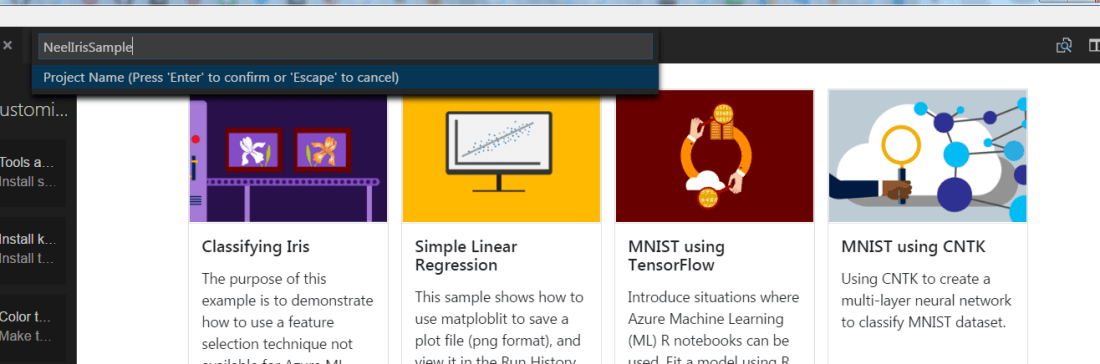
Then give folder name and click on Enter. It will create the project in your Visual Studio code.
Background for Classifying Iris project:
The purpose of this example is to demonstrate how to use a feature selection technique not available for Azure ML experiments.
This is a companion sample project of the Iris tutorial that you can find from the main GitHub documentation site. Using the timeless Iris flower dataset, it walks you through the basics.
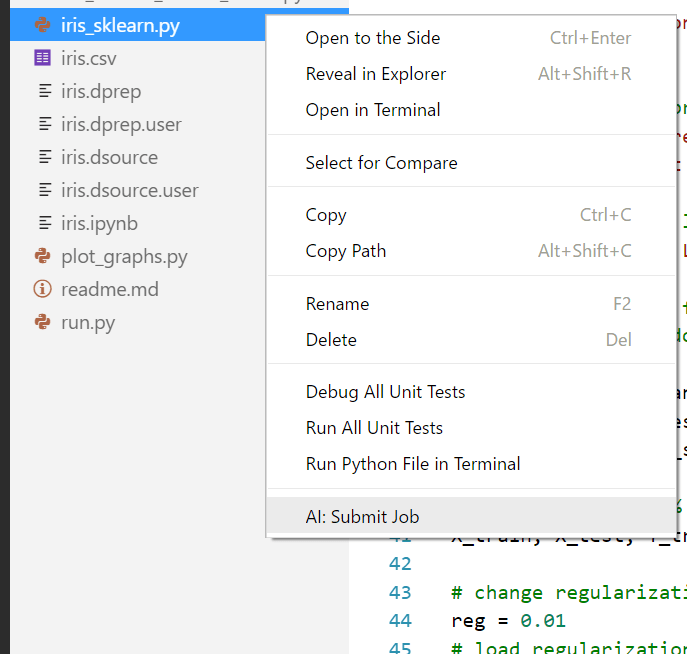
Let us just submit the job to train the model locally:
For that, Open iris_sklearn.py class and then right click and select AI: Submit Job:
You can even view the running jobs by clicking on Command Palette and then search for AI: List Jobs. It will show all running jobs.
Hope it helps.
